10mm Wrench or Socket with Ratchet (Will be used to secure ground wire)
Flat Head Screwdriver (Will be used to undo wiring clips)
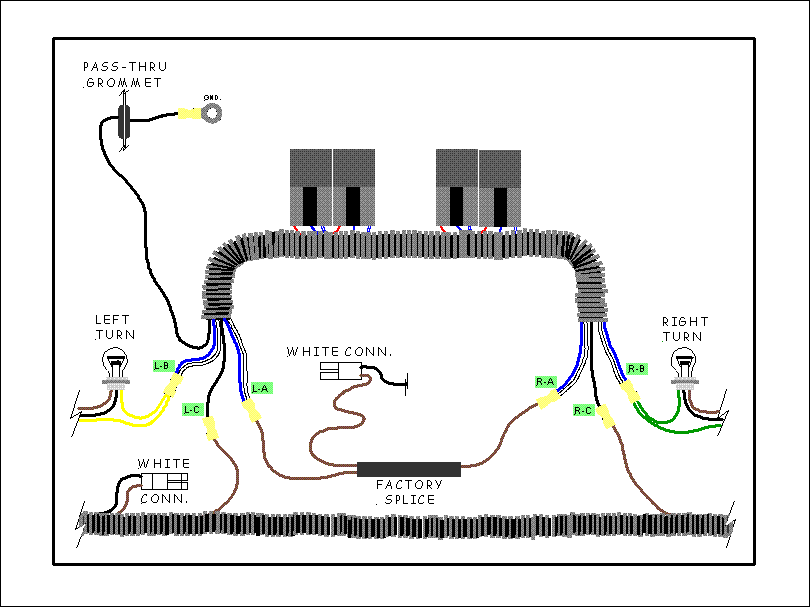
Wiring Diagram
Install Instructions
Disconnect your negative battery post and lay it aside.
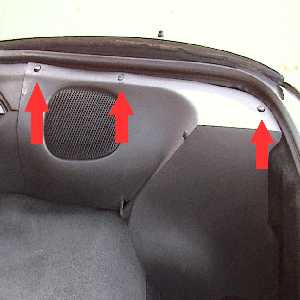
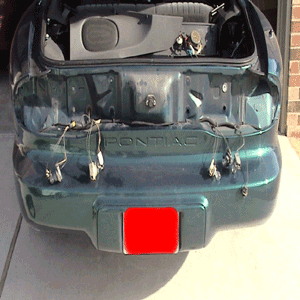
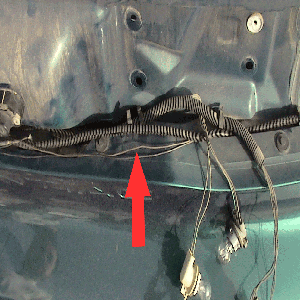
Locate and remove right rear speaker cover by unlocking twist lock tabs.
We removed the left speaker panel for better access to ground pass-thru.
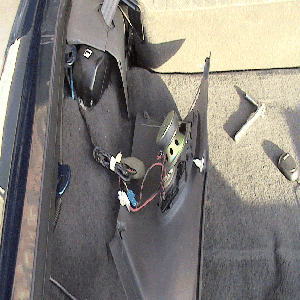
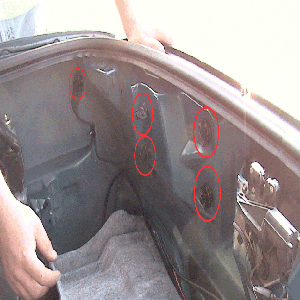
Pull down carpet to get access to tail light screws. Remove screws, de-tatch taillight bulbs from lens assembly, and set aside.
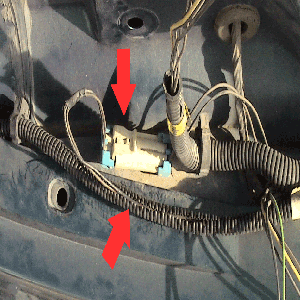
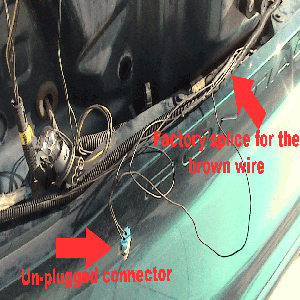
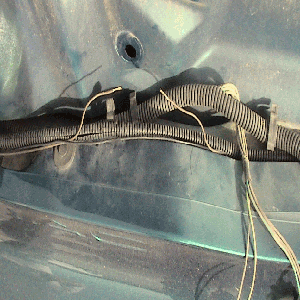
Locate the white 2 conductor connector on left side. Pull the brown wire that runs from the connector to the right side out of the loom to expose factory splice.
Locate the brown wire coming from the factory splice that does not come from the 2 conductor connector from step 4.
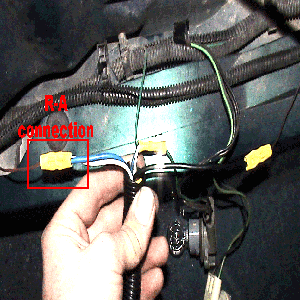
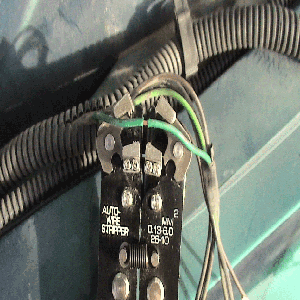
Cut the brown wire located in step 5 about four inches to the left of the factory splice. Attach the wire labeled L-C to the wire end going toward the left side of the car.
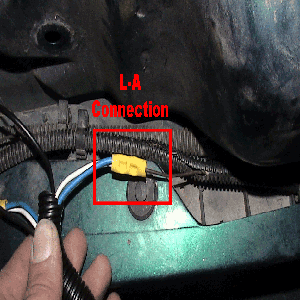
Attach the wires labeled L-A to the brown wire going to the factory splice.
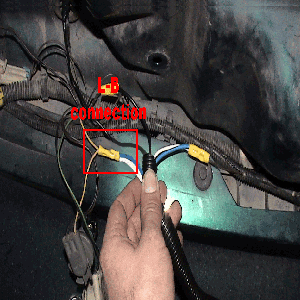
Locate the left side turn bulb dongle with a yellow wire. Splice that wire and attach the wires labeled L-B.
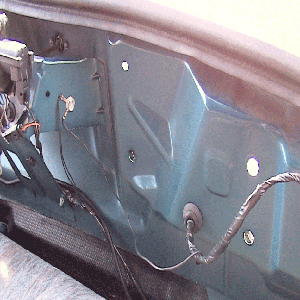
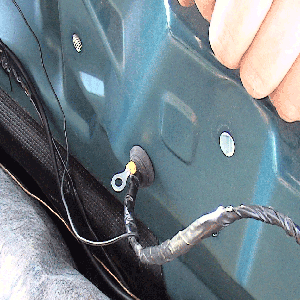
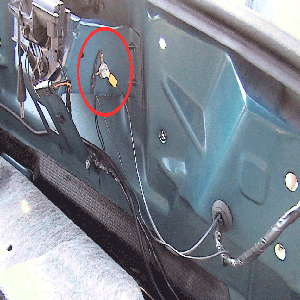
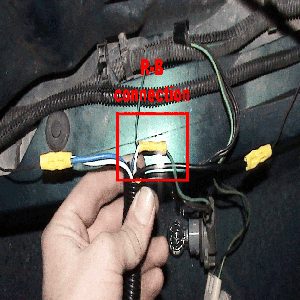
Locate the rubber pass through where the wires come through. Locate the factory ground location beside latch. Route black wire with eyelet already attached through the pass through and attach to factory ground screw.
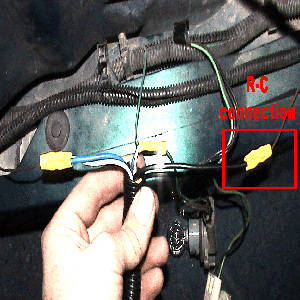
Locate the brown wire coming from the factory splice in the middle that goes towards the right side of the car. Cut this wire.
Attach the wire labeled R-C to the brown wire going towards the right side marker light.
Attach the wires labeled R-A to the other end of the brown wire going towards the factory splice.
Locate the right side turn bulb dongle with black, brown and dark green. Cut the dark green wire.
Splice the wires labeled R-B with the dark green wire.
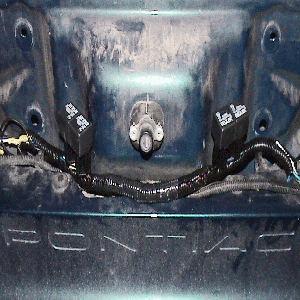
Position the kit as shown in the image below. Re-install tail lamp assembly.
If you are having any trouble with your installation, please feel free to Contact Us. You may also find posts from people who have installed our kits on www.ls1.com helpful, along with community input on your issue.