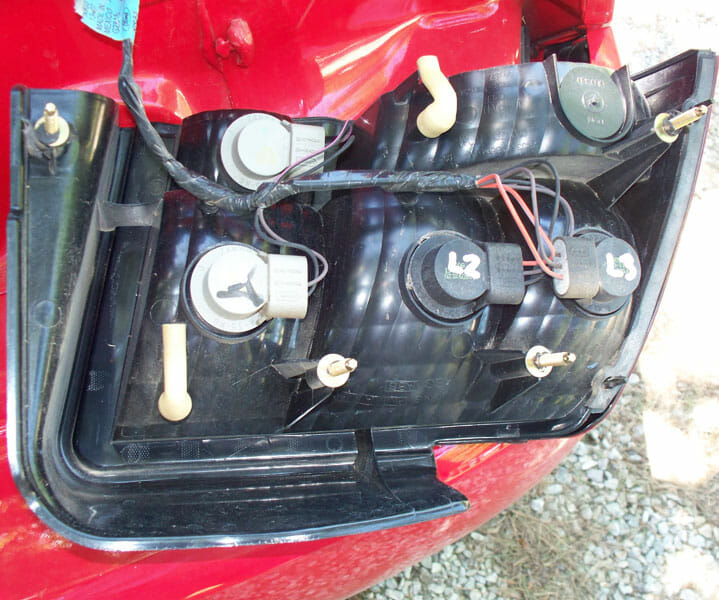
Open your trunk and remove the Passenger rear tail light carpet/cover by loosening the cargo net thumb screws.
Lower your tail lens onto the bumper. Notice the locations of the four thumb screws. Use a towel under the light to avoid scratching bumper.
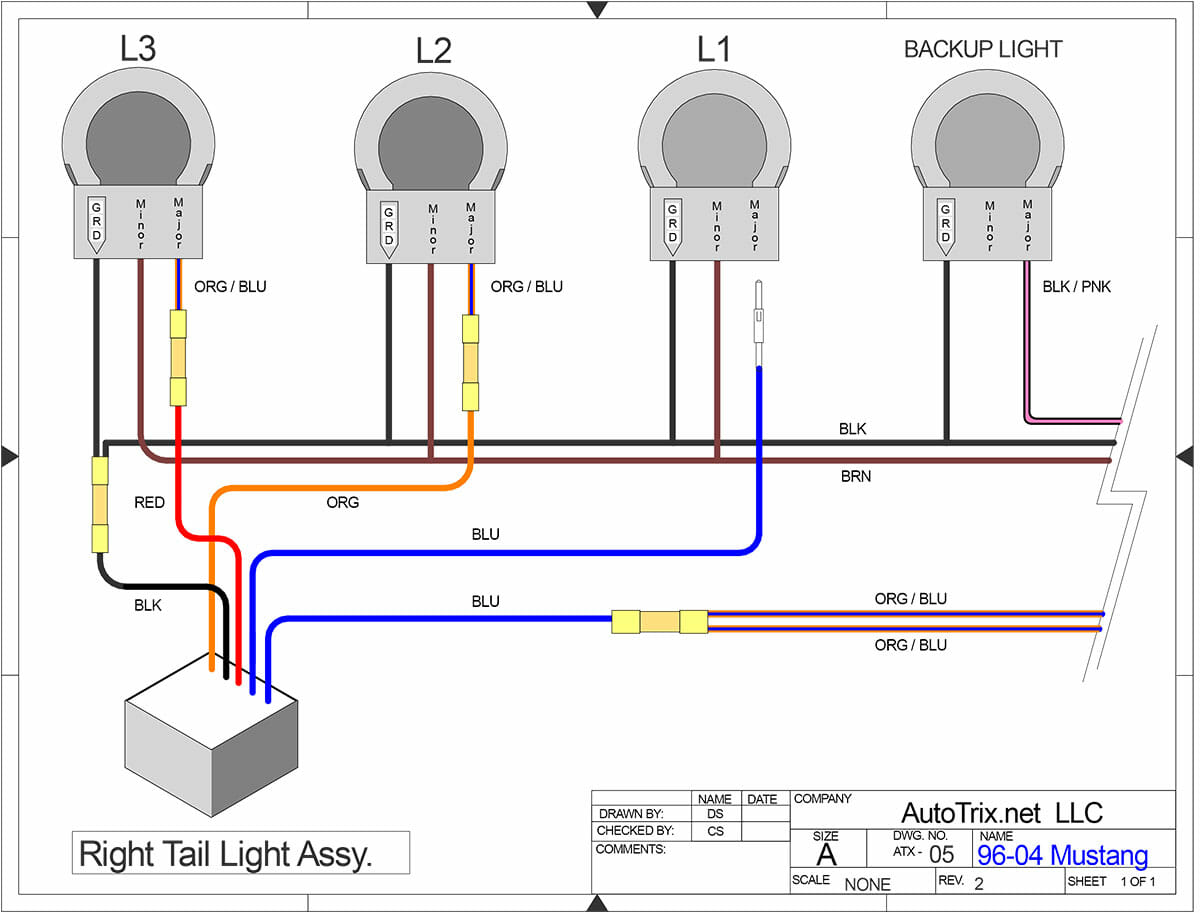
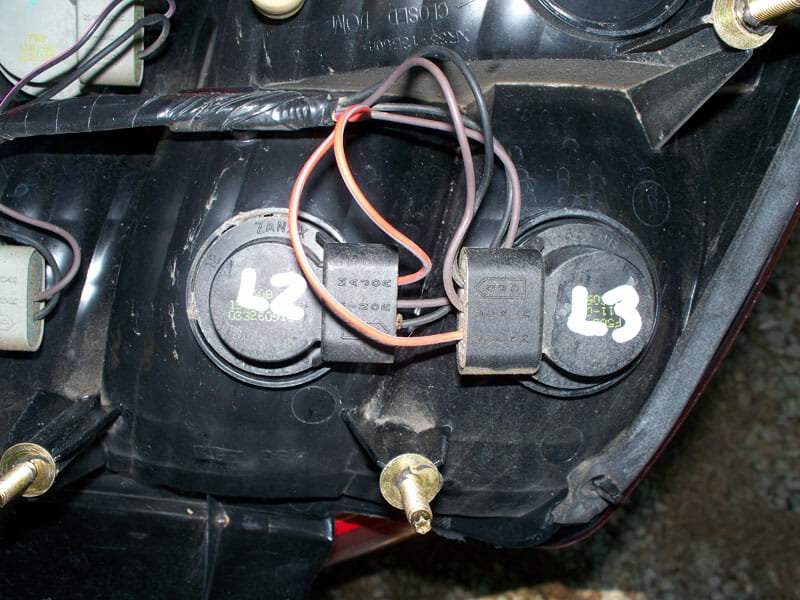
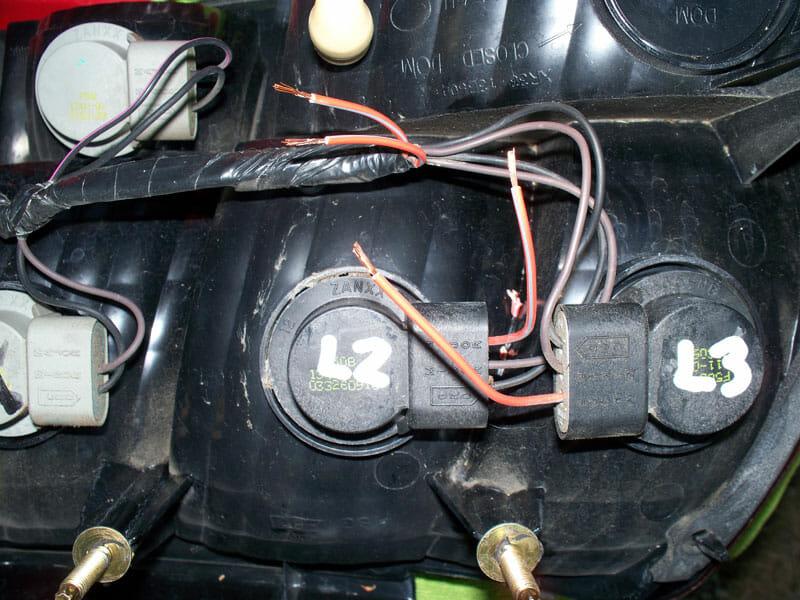
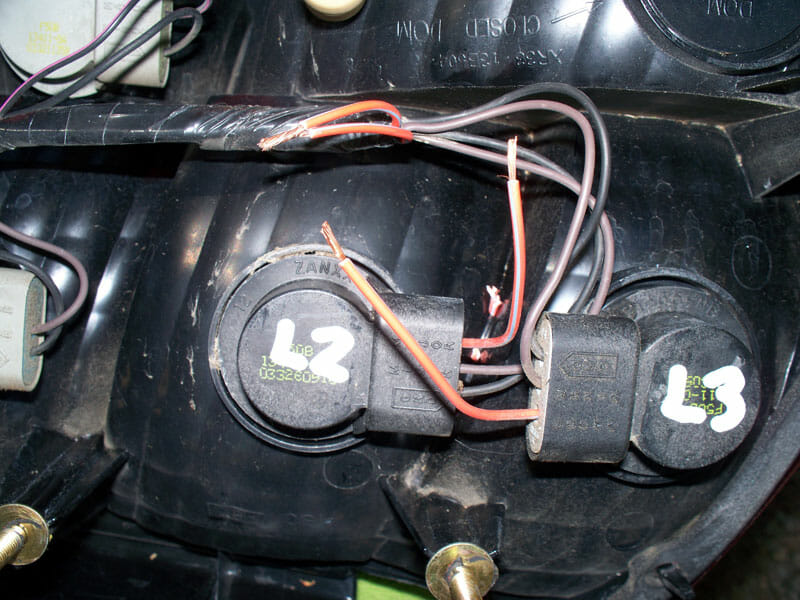
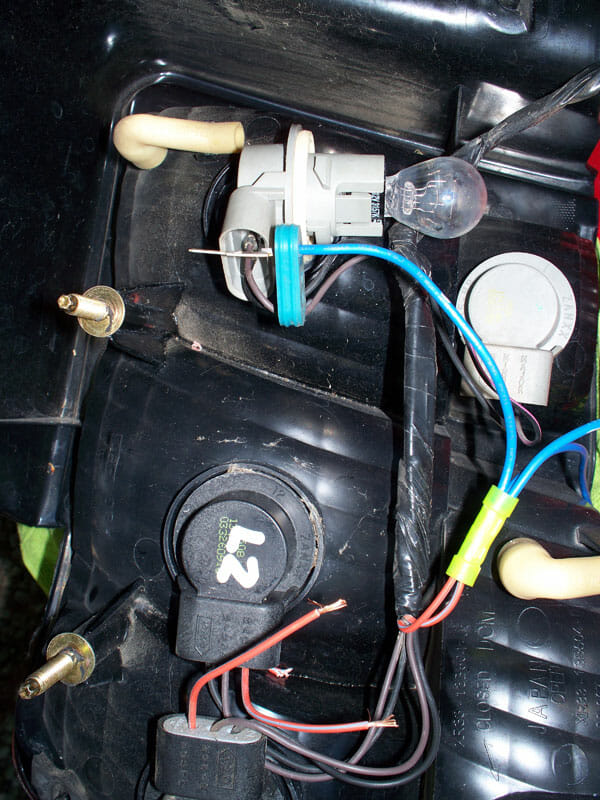
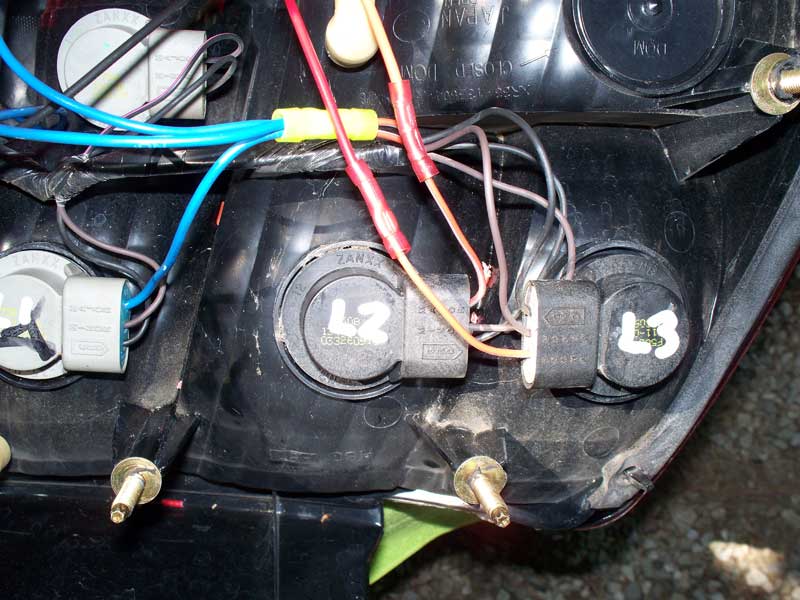
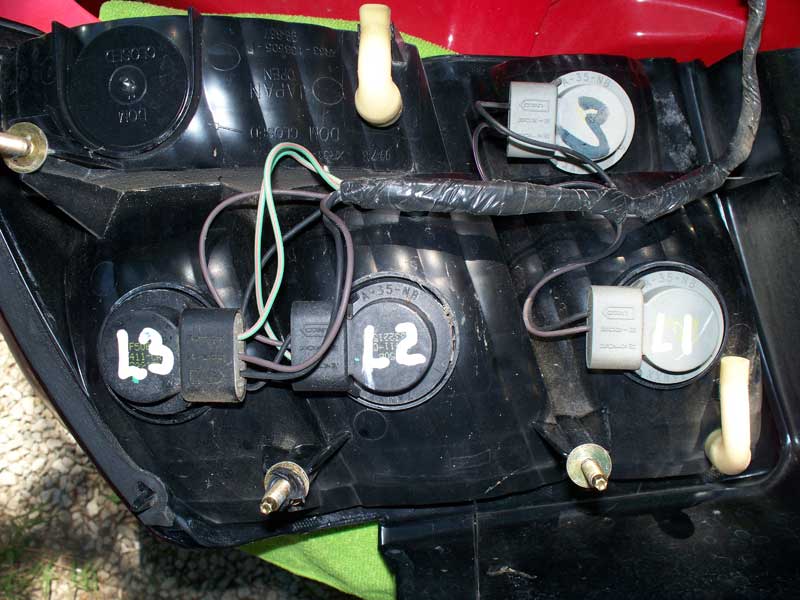
Notice that we have the inside light (grey plastic) labeled L1 the middle L2 and the outside L3. Locate the Orange with blue stripe wire labeled MAJOR on the connector for L2 and L3, cut and strip.
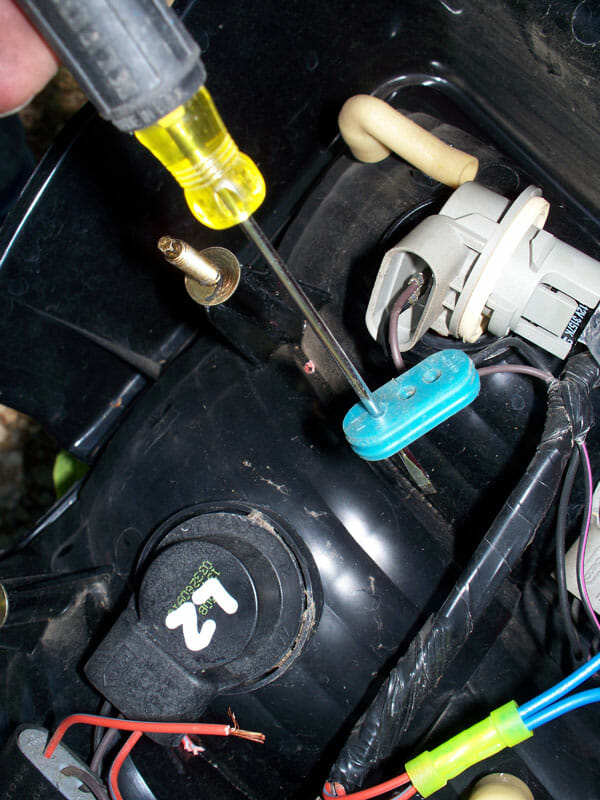
Twist the two wire that are coming from the harness together. Grab one tail light module; take the blue wire, without the spade terminal, and crimp it to the two orange with blue stripped wires that are coming from the harness.
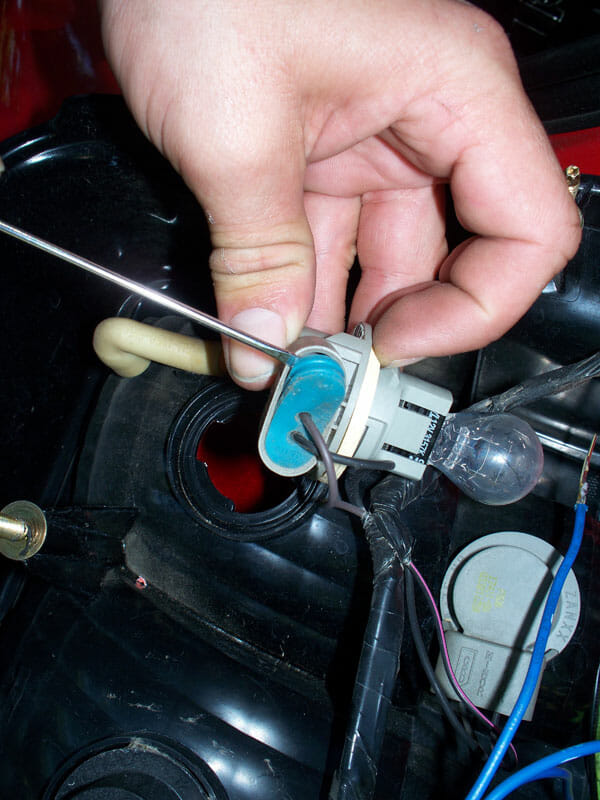
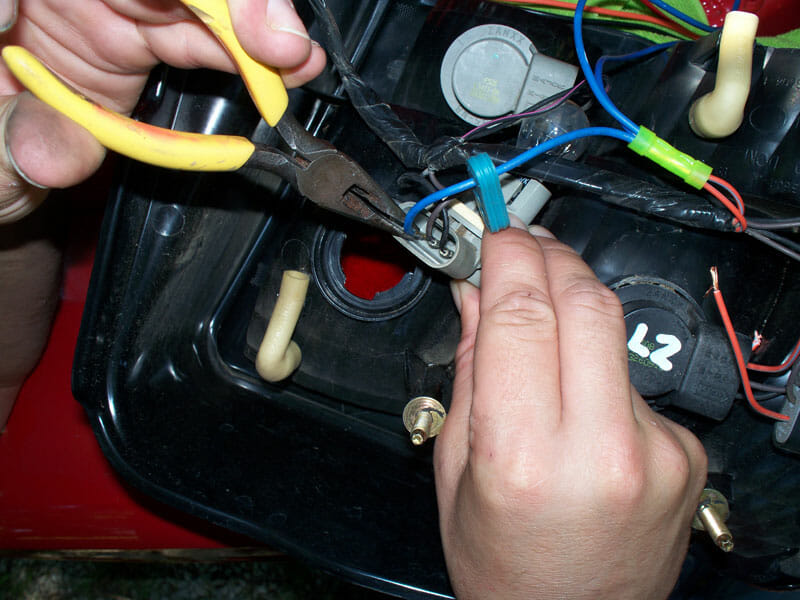
Remove L1 socket from the tail lens and take a pocket screw driver to pry out the blue weather seal from the bottom of the connector. Poke a hole into the seal to allow for the third blue wire to be installed.
Take the blue wire with the pre-soldered blade connector and slip it through the hole you just made in the weather seal. Take your needle nose pliers and firmly insert the blade connector into the empty slot in the tail light bulb socket. (labeled “Major”) Gently pull back to make sure that your terminal is securly fastened into the light socket and them re-seat your connector weather seal.
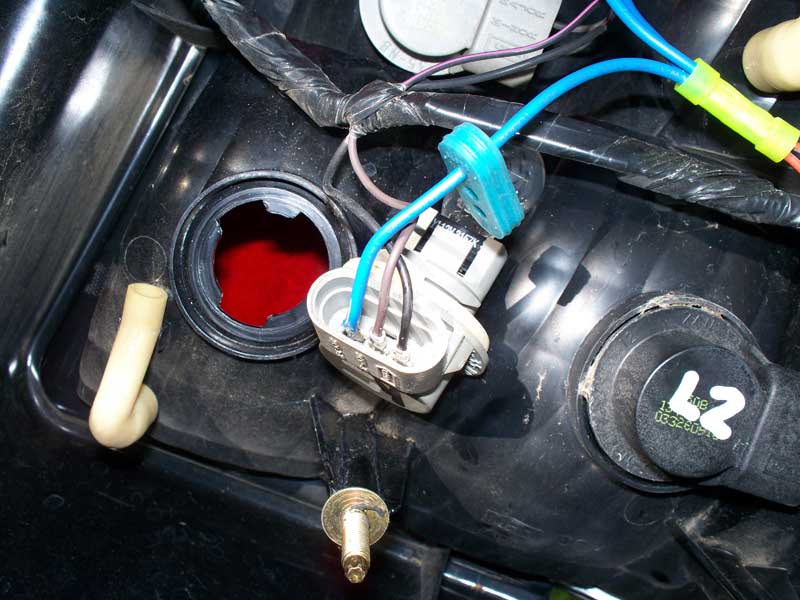
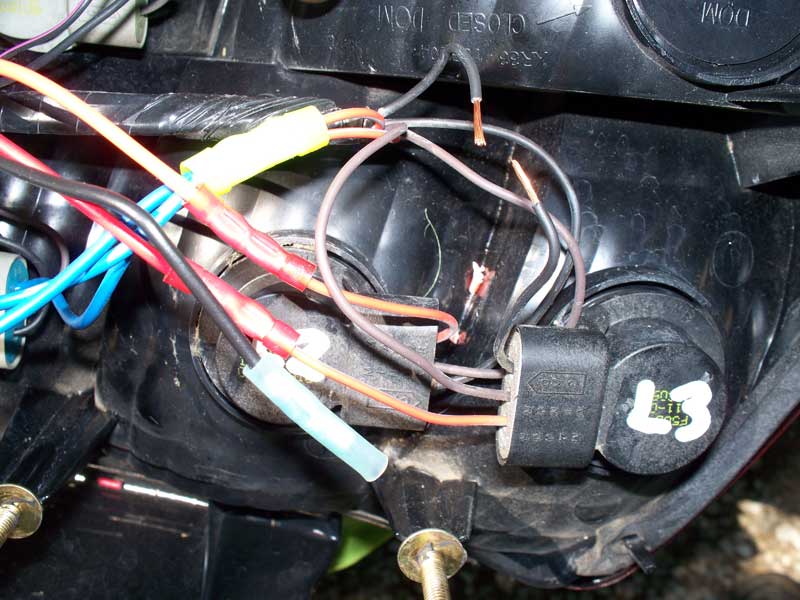
Attach the orange wire from the tail light module to the L2 socket orange/blue “Major” wire.
Attach your red wire from your tail light module to L3. (Previously cut L3 orange/blue “Major” wire)
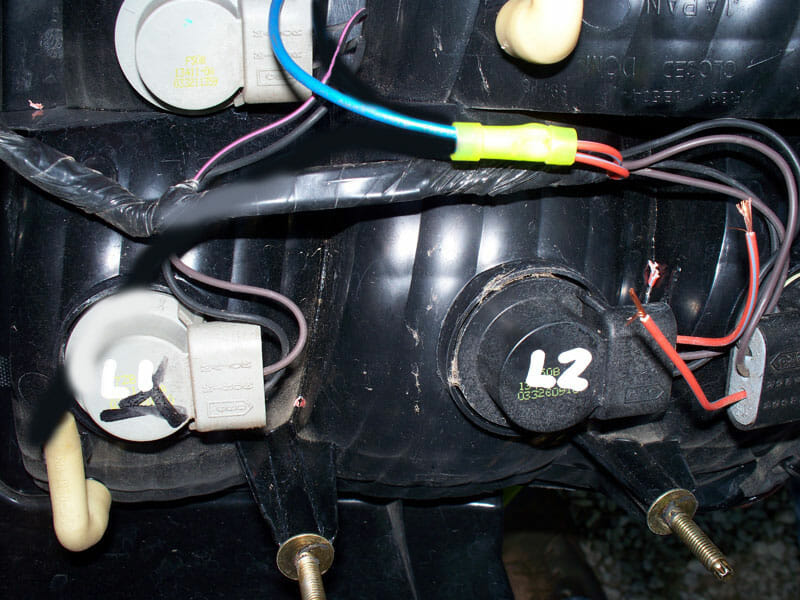
Locate L3 sockets black wire from the GND cavity. Cut the wire and strip both ends. Twist them together and crimp them into one end of a butt connector. Take the black wire coming from the tail light module and crimp it in the other end of the butt connector. This should be the last connection needed for this side of your car.
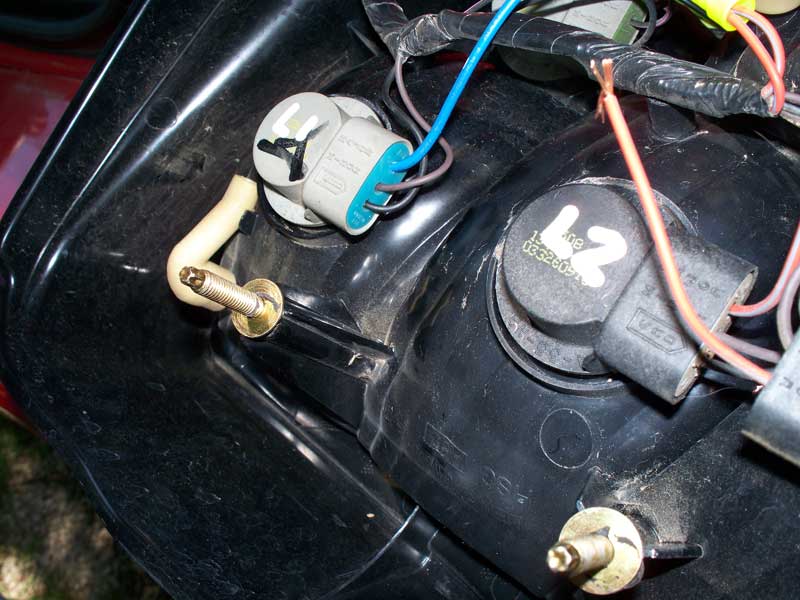
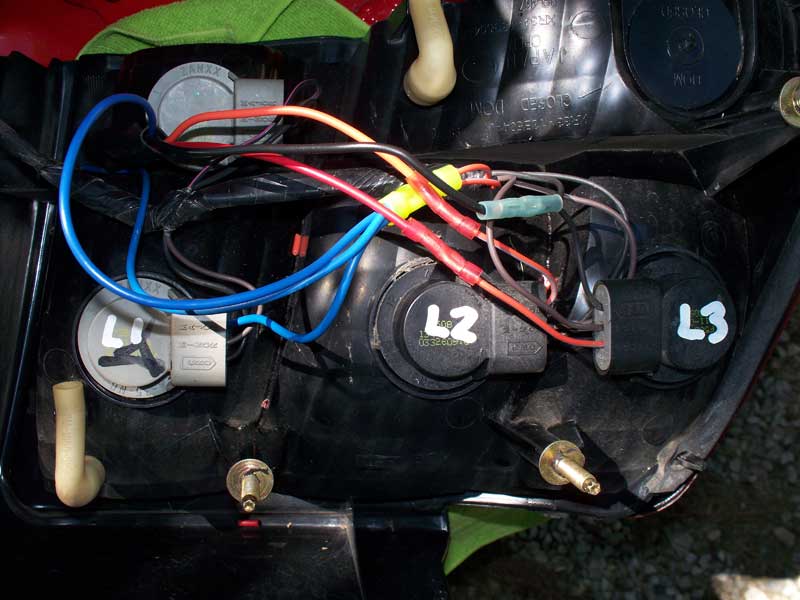
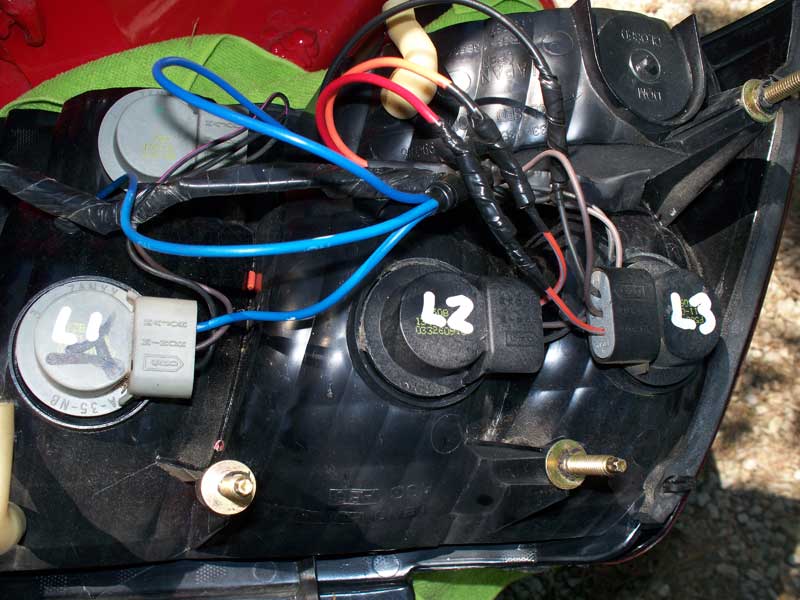
Re-connect any loose light sockets to lens and be sure to tape all connections very well. Module can be tucked into various positions behind the tail lens. Secure with zip-ties or Electrical tape and re-assemble tail lens to car.
Your drivers side module install is the same as what you have just accomplished, with one minor change. The light sockets are labeled the same: inside light L1, middle L2, outside light L3 and all the wiring connections remain the same. The only change is that you have two Green with Orange strip wires labeled MAJOR on L2 and L3 instead of two Orange with blue strips.
**These modules require a solid 12V to operate correctly. Your car must be RUNNING for proper operation of the modules. Make sure to do your final testing with the car RUNNING** If you are having any trouble with your installation, please feel free to Contact Us. You may also find posts from people who have installed our kits on www.ls1.com helpful, along with community input on your issue.